Learn how to clean After Builders with our comprehensive DIY guide. Remove construction dust, debris & residue safely with expert tips, tools & step-by-step instructions for 2025.
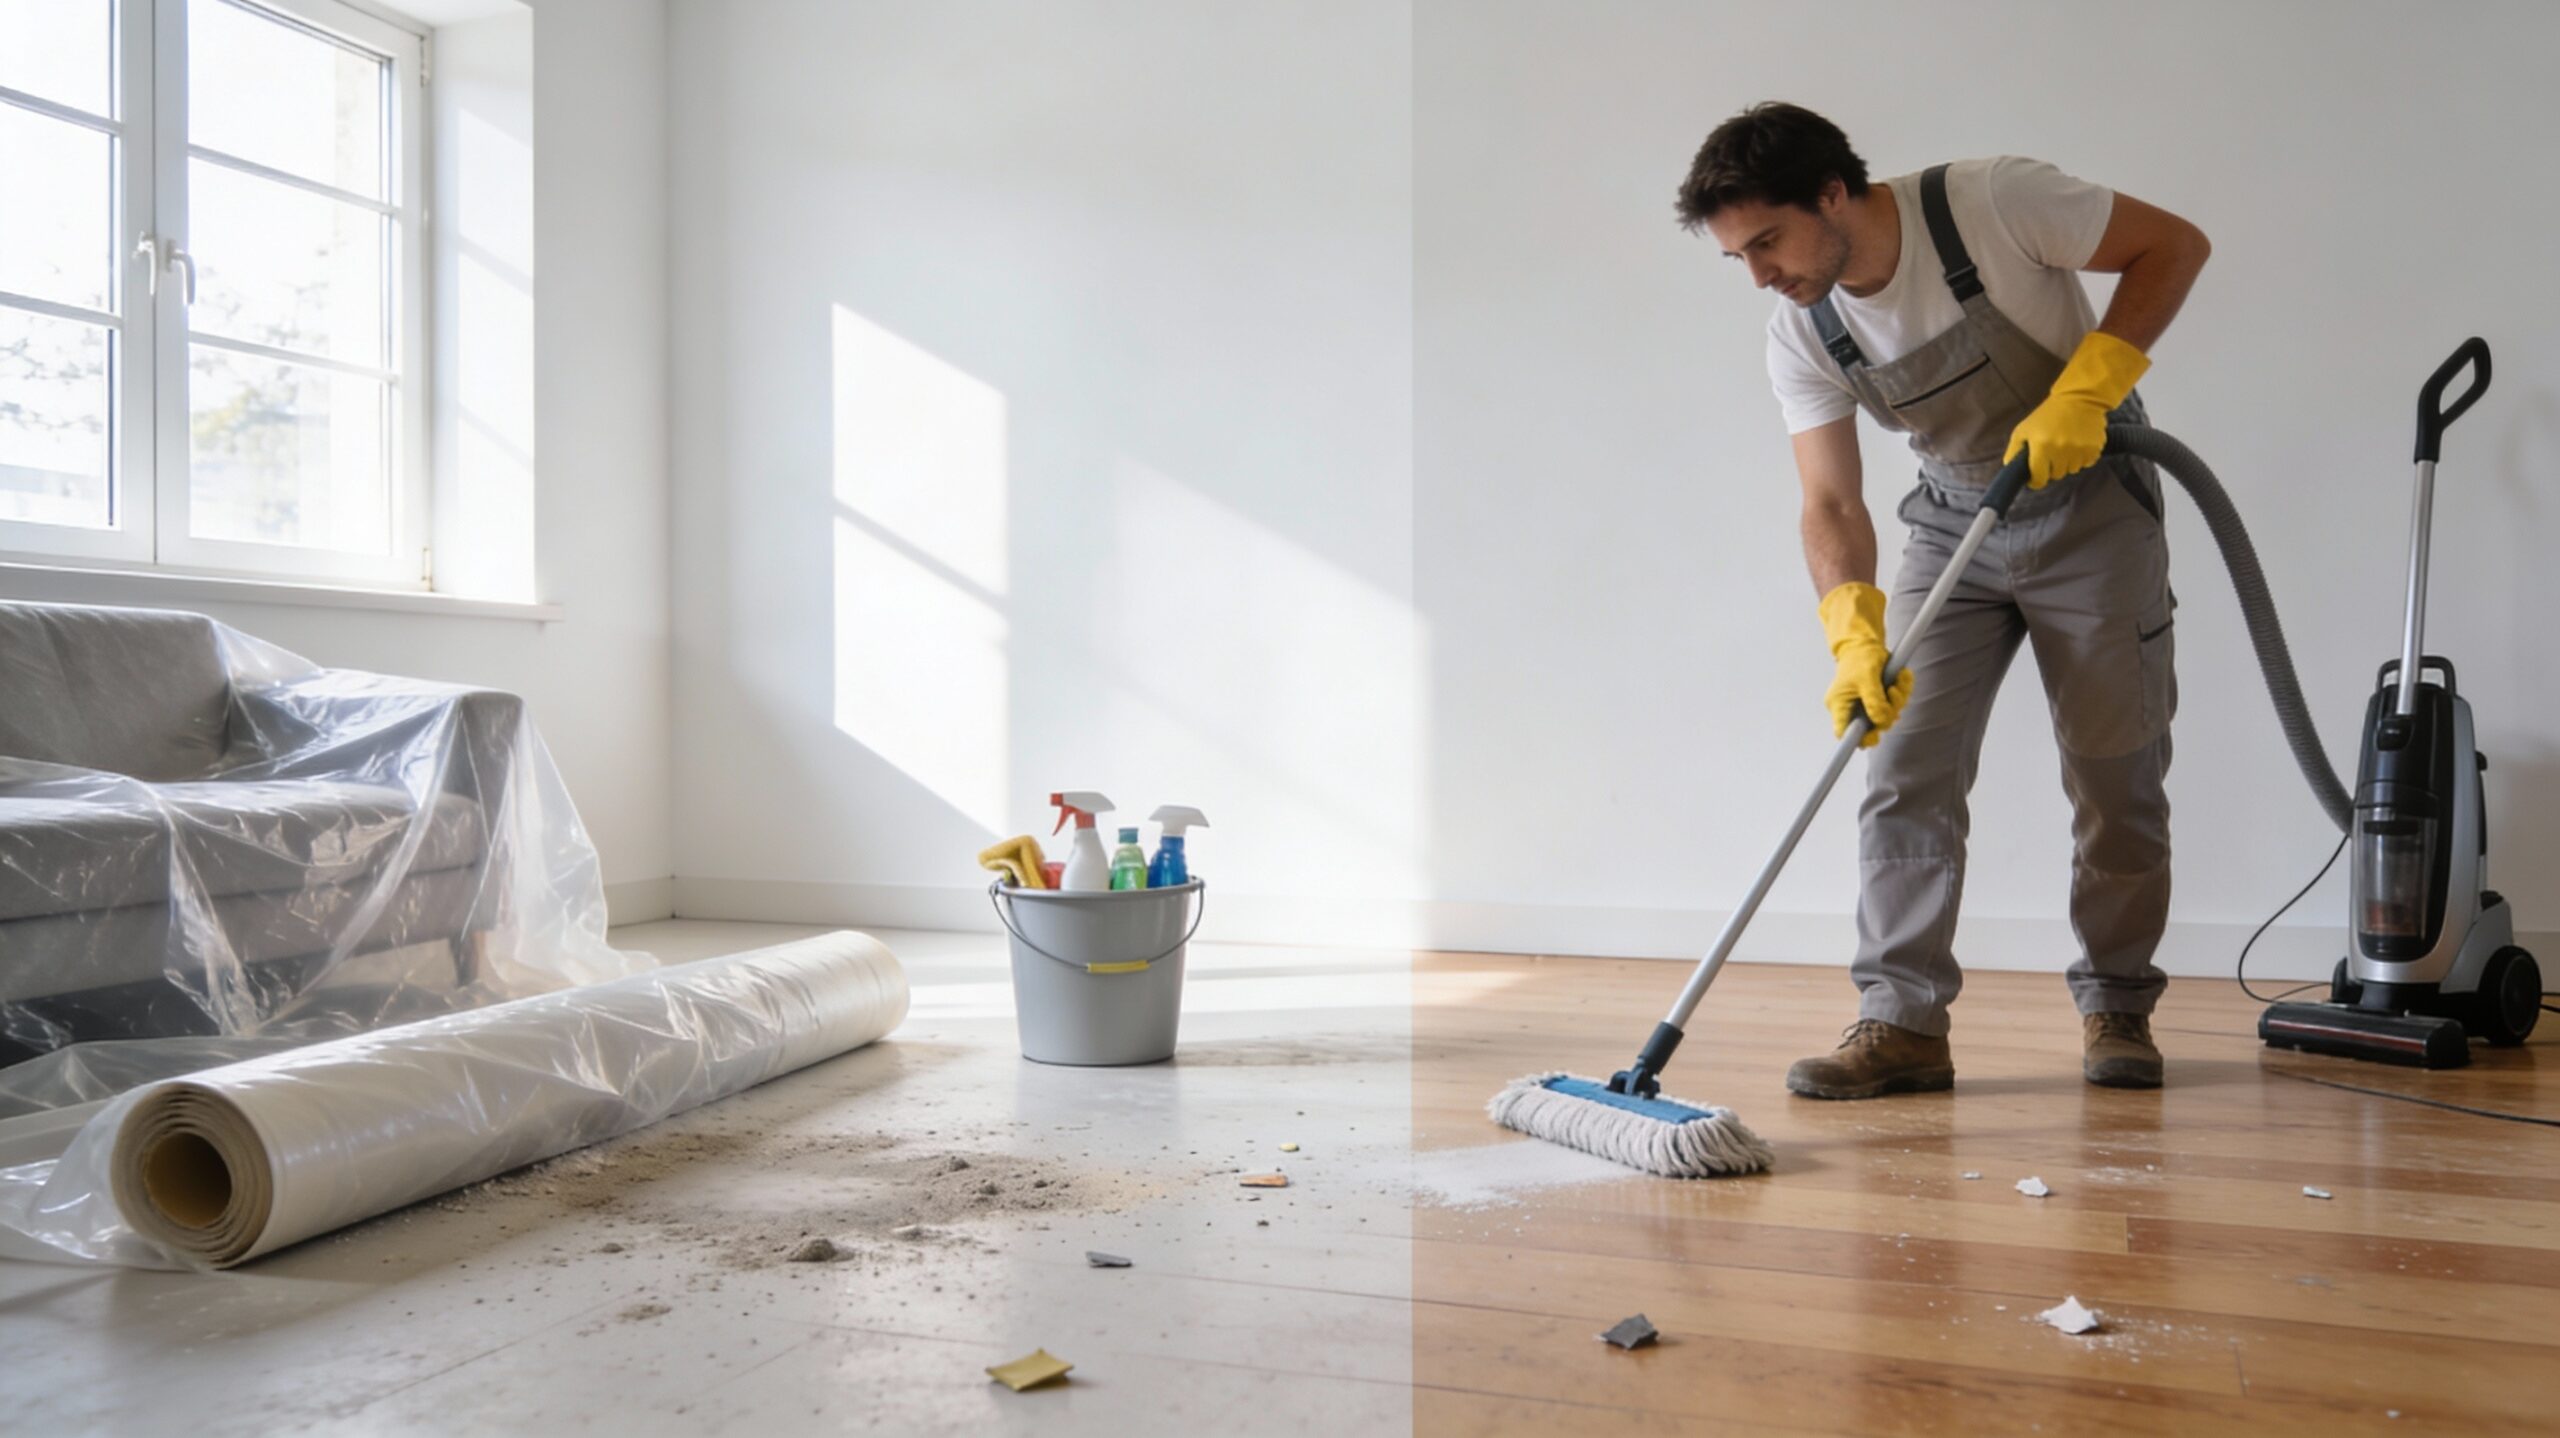
The renovation is finally complete. Your dream kitchen gleams with new cabinets, or perhaps that extension you’ve been planning for years is now reality. But there’s one massive problem standing between you and enjoying your newly renovated space: the aftermath. Construction dust coats every surface, paint splatters mark your new flooring, and mysterious debris lurks in corners you didn’t even know existed.
After builders cleaning is essential to ensure your renovated space is safe, clean, and ready for use. While you could hire professionals, many homeowners successfully tackle this challenge themselves with the right approach, tools, and patience. This comprehensive guide walks you through exactly how to clean after builders, saving you hundreds of dollars while achieving professional-quality results.
Why After Builders Cleaning Is Different from Regular Cleaning
Post-construction cleaning isn’t your typical Saturday morning tidy-up. Builders use materials from wood and sawdust to paint, adhesives, and other chemicals that can cause breathing problems and skin irritations if not cleaned properly. Construction dust is particularly problematic—it’s finer than regular household dust and can infiltrate HVAC systems, electronics, and even the smallest crevices.
The stakes are higher too. Construction dust poses health risks if not properly managed, and paint splatters can be challenging to remove without damaging underlying surfaces. Rushing through or using incorrect methods can permanently damage your new surfaces, turning your renovation dream into an expensive nightmare.
Essential Tools and Supplies You’ll Need
Before starting, gather professional-grade equipment. Standard household cleaning supplies simply won’t cut it for construction debris.
Must-Have Tools:
- Heavy-duty vacuum with HEPA filter (captures 99.97% of fine dust particles)
- Shop vac for wet/dry cleaning
- Microfiber cloths (at least 20-30 for frequent changes)
- Multiple buckets for clean and dirty water
- Sturdy brooms and dustpans
- Mop with replaceable microfiber pads
- Rubber gloves and dust masks (N95 or better)
- Safety goggles
- Plastic scrapers and putty knives
- Extension poles for high areas
- Step ladder or sturdy stool
Cleaning Solutions:
- All-purpose cleaner
- Glass/window cleaner
- Floor-specific cleaners (wood, tile, stone)
- Degreaser for kitchens
- Paint remover (if needed)
- White vinegar for natural cleaning
- Heavy-duty trash bags
Using standard household cleaners on construction debris often leads to damage, as abrasive cleaners on delicate surfaces can cause irreversible scratches and dull finishes.
Safety First: Protect Yourself
Construction sites contain hazards even after builders leave. Before cleaning, ensure proper protection:
- Wear closed-toe, rubber-soled shoes
- Use N95 dust masks to protect lungs
- Wear safety goggles to prevent eye irritation
- Keep windows open for ventilation
- Never mix cleaning chemicals
- Keep a first aid kit nearby
Hazardous materials must be properly disposed of to maintain minimum health and safety standards.
Step-by-Step After Builders Cleaning Process
Phase 1: Initial Assessment and Debris Removal (Day 1)
Start by walking through your property with a notepad. Document areas needing special attention, particularly stubborn paint splatters or adhesive residue. Conduct a thorough inspection to identify which areas need special attention and any compliance-sensitive areas requiring specialized cleaning protocols.
Remove all large debris first:
- Packaging materials and cardboard
- Wood offcuts and shavings
- Leftover construction materials
- Nails, screws, and small metal pieces
- Plastic sheeting and protective covers
Fill multiple heavy-duty trash bags. Consider renting a dumpster for major renovations—the volume of waste often surprises homeowners.
Phase 2: Dry Dust Removal (Days 1-2)
Standard vacuums simply redistribute fine dust; a HEPA filter is essential as it captures particles even the finest construction dust. Never skip this critical step.
Work from top to bottom in each room:
- Ceilings and upper walls: Use a dry microfiber cloth on an extension pole
- Light fixtures: Remove covers, vacuum inside, wipe bulbs
- Air vents and returns: Vacuum thoroughly, replace filters
- Window frames and sills: Vacuum before wiping
- Door frames and doors: Dust top to bottom
- Baseboards and trim: Vacuum in all crevices
- Floors: Vacuum multiple times, moving furniture to reach all areas
Pro Tip: Used dryer sheets make excellent dust collectors—simply run them along dusty surfaces and throw them away once full.
Phase 3: Wet Cleaning Surfaces (Days 2-3)
Only begin wet cleaning after removing all dry dust. You can only start wet cleaning after a vacuum cleaner has collected all the dust, otherwise there will be stains.
Walls and Ceilings: Use barely damp microfiber cloths to wipe down all surfaces. If you get dust too wet it will turn to mud rather than sticking to the cloth, so wring cloths out until barely damp. Wash cloths frequently and change water when it turns cloudy.
Windows and Glass: Clean both interior and exterior of windows to remove dust, construction marks, and debris, using glass cleaner and microfiber cloths for streak-free results. Don’t forget window tracks, frames, and sills where construction debris accumulates.
Kitchen Deep Clean: Use mild detergent to wipe down all cabinets, countertops, and appliances, cleaning exhaust fans and range hoods which collect grease and dust. Clean inside all cabinets and drawers before putting items away.
Bathroom Sanitizing: Clean and disinfect tub, shower, sink, and toilet, including all faucets and fixtures, vacuuming exhaust fans to prevent dust circulation. Construction dust in humid bathrooms can lead to mold if not properly removed.
Phase 4: Specialized Cleaning Tasks
Paint Splatter Removal: Use plastic scrapers or specialized tools to gently remove paint splatters from windows, trim, and floors, then wipe with damp cloths. Test in inconspicuous areas first.
Adhesive Residue: Tape marks can be removed with nail polish remover or glass cleaner containing solvents. Work slowly to avoid surface damage.
Floor Finishing: Each flooring type requires specific care:
- Hardwood: Use pH-neutral wood cleaner, never excessive water
- Tile: Clean with appropriate tile cleaner, paying attention to grout lines
- Carpet: Vacuum thoroughly, consider professional steam cleaning
- Stone: Use stone-specific cleaners to avoid etching
Using the wrong cleaning method for your floor type is one of the most common mistakes, as each material demands a specific approach to avoid damage.
Phase 5: HVAC System Attention
Air systems circulate fine dust throughout the space if filters aren’t changed after construction, with HVAC systems serving as major reservoirs for construction dust.
Critical HVAC tasks:
- Replace all air filters (consider replacing multiple times in first month)
- Vacuum all vents and registers
- Clean return air grilles
- Consider professional duct cleaning for major renovations
Phase 6: Final Inspection and Touch-Ups (Day 3-4)
Walk through each room systematically:
- Check corners and crevices often missed
- Look behind and under furniture
- Inspect inside cabinets and closets
- Test that all fixtures work properly
- Verify no paint or adhesive remains on surfaces
The final cleaning phase is your chance to perfect the site, taking time to polish fixtures, sanitize surfaces, and walk the space for quality assurance.
Common Mistakes to Avoid
1. Starting Too Soon Jumping in too quickly before dust has settled is a major mistake, as construction creates fine dust particles that can float for hours or even days. Wait 24 hours after builders leave before beginning.
2. Using Wrong Products Acidic cleaners can etch or damage natural stone, unsealed concrete, or certain metals if not used correctly. Always verify product compatibility with your surfaces.
3. Neglecting Hidden Areas Construction dust hides inside air vents, light fixtures, ceiling fans, drawers, and baseboards—simply wiping visible surfaces isn’t enough.
4. Rushing the Process Taking shortcuts leads to missed spots and incomplete cleaning, so allow sufficient time to thoroughly clean each area. Most DIY builders cleans take 25-30 hours for a single-story home.
5. Improper Safety Precautions Failing to wear protective gear or using harsh chemicals without proper ventilation can be harmful. Never compromise on safety equipment.
How Long Does After Builders Cleaning Take?
Time depends on several factors including house size, extent of construction work, and whether you have help. Realistic timeframes:
- Studio/1-bed apartment: 8-12 hours
- 2-3 bedroom house: 20-30 hours
- 4-5 bedroom house: 35-50 hours
- Major renovation: 50+ hours
Working in 4-6 hour sessions prevents exhaustion and maintains cleaning quality.
When to Call Professionals

DIY cleaning works for many, but some situations warrant professional help:
- Extensive renovations creating massive dust
- Limited time before move-in deadline
- Health conditions making dust exposure dangerous
- Delicate surfaces requiring specialized knowledge
- Commercial properties with compliance requirements
Professional after builders cleaning in the UK typically costs £100-£700 depending on property size and renovation extent, with London prices ranging £25-£40 per hour per cleaner.
READ MORE : After Builders Cleaning Watford: 5 Benefits
Cost Comparison: DIY vs. Professional
DIY Costs:
- Cleaning supplies: $50-$150
- Equipment rental (if needed): $50-$200
- Your time: 25-50 hours
- Total: $100-$350 + your time
Professional Costs:
- Small apartment: $200-$400
- Medium house: $400-$700
- Large house: $700-$1,200+
While the money saved by DIY cleaning might seem significant, consider the equipment and chemicals required to do the job properly.
Final Thoughts
Cleaning after builders is undeniably challenging, but absolutely achievable with proper planning, right tools, and systematic approach. The key is patience—rushing leads to missed areas and potential damage. Break the work into manageable phases, take regular breaks, and don’t hesitate to ask family or friends for help.
Remember, the goal is transforming your post-construction site into a clean, welcoming space that truly reflects the effort and vision invested in your renovation. Whether you tackle it yourself or hire professionals, thorough after builders cleaning ensures you can finally enjoy your beautiful new space safely and comfortably.
Your renovation deserves a proper finish. With this guide in hand, you’re equipped to deliver professional-quality results and reclaim your home from construction chaos.
1 thought on “How to Clean After Builders: Step-by-Step DIY Guide 2026”